

The Step-by-Step Roof Installation Process Explained for West Texas Homeowners
Orbis Advisers
September 25, 2026
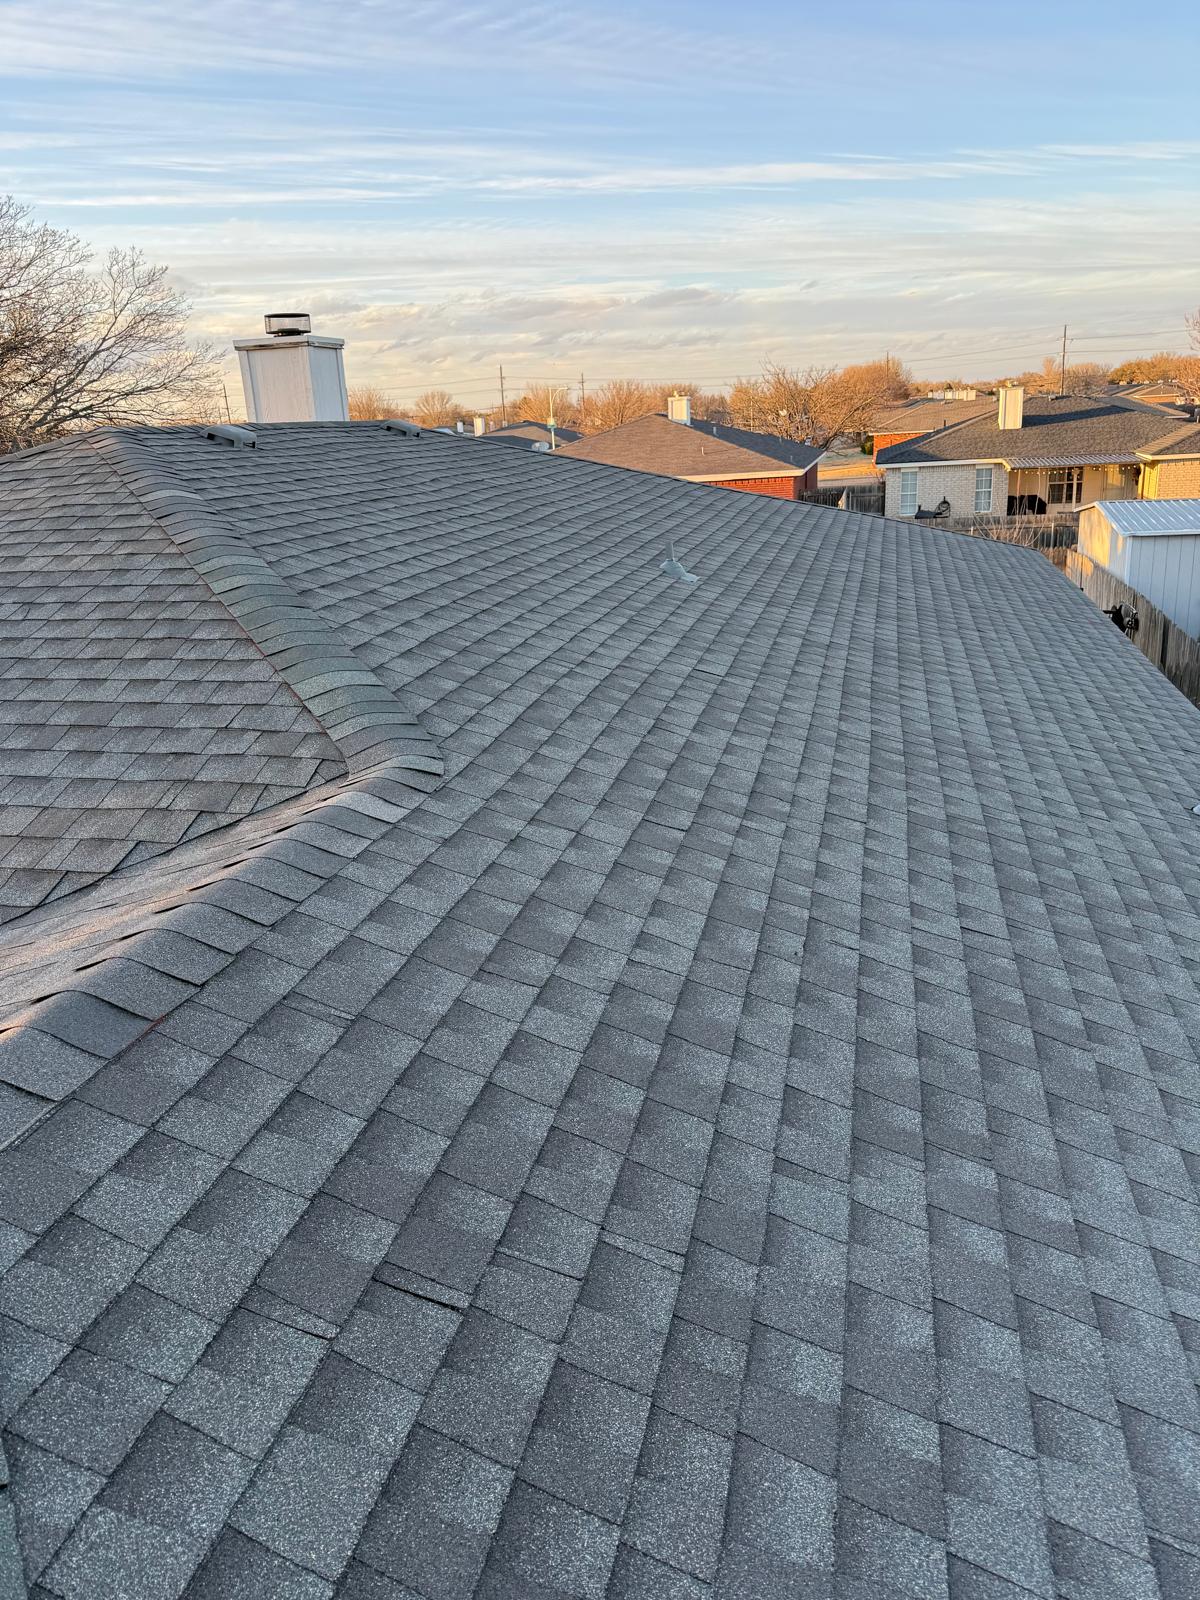
If you’ve never had a roof replaced before, the process can feel like a black box — a crew shows up, makes a lot of noise for a day or two, and a new roof appears. But knowing exactly what happens at each stage helps you ask better questions, recognize quality workmanship, and understand why each step matters for the long-term performance of your home.
At Gallegos Roofing LLC, we believe an informed homeowner is a better partner on any roofing project. Here is the complete step-by-step roof installation process we follow for homes across Lubbock, TX and the surrounding West Texas area.
What Happens From Start to Finish
Step 1 — Initial Inspection and Estimate
Every roof installation starts with a thorough inspection of the existing roof — not just a glance from the ground. A qualified contractor climbs the roof and evaluates the overall condition and age of existing shingles, the state of the roof deck beneath the surface, the condition of flashing around chimneys, vents, and walls, gutter attachment and fascia integrity, and attic ventilation along with any signs of existing moisture damage. This inspection is what makes the estimate accurate. A contractor who quotes a price without getting on the roof is estimating blind — and that almost always leads to surprises mid-project.
Step 2 — Material Selection and Permitting
Once the inspection is complete and you’ve agreed on scope and materials, two things happen before any work begins. Material selection is finalized — shingle brand, product line, color, and any upgraded components such as impact-resistant shingles or synthetic underlayment. Permits are then pulled from the City of Lubbock — a required step for full roof replacements that ensures the work meets local building codes and will pass inspection. A reputable contractor handles the permit process on your behalf. Work that begins without a permit puts the homeowner at risk and is a clear sign of a contractor cutting corners.
Step 3 — Site Preparation
Before the old roof comes off, the job site is prepared to protect your property. Tarps are laid over landscaping, air conditioning units, and the driveway to catch falling debris and nails. Plywood boards may be placed over windows or other vulnerable areas depending on the project scope. A dump trailer or dumpster is positioned to receive old roofing material as it comes off, and the crew establishes a safe working perimeter around the home. In West Texas, where afternoon winds can pick up quickly, experienced crews also account for weather windows when scheduling tear-off to avoid exposing the deck during an incoming storm.
Step 4 — Tear-Off of the Existing Roof
The old roofing material is removed completely down to the roof deck. This step is not optional on a quality installation — layering new shingles over old ones is a shortcut that hides existing problems and produces a substandard result. During tear-off, the crew removes all existing shingles and starter strips, old underlayment, deteriorated or improperly installed flashing, and any components being replaced as part of the new system. Old material is loaded directly into the dump trailer as it comes off to keep the job site clean and organized throughout the day.
Step 5 — Roof Deck Inspection and Repair
With the old material removed, the roof deck is fully visible for the first time. This is the most important diagnostic moment of the entire project. The crew inspects every section of decking for soft spots or rot caused by long-term moisture exposure, warped or buckled panels that would prevent shingles from lying flat, and missing or damaged fasteners that compromise deck attachment to the framing. Any compromised decking is replaced with new plywood or OSB before the installation continues. In Lubbock’s climate, where trapped moisture from inadequate ventilation is common, deck damage is found more often than homeowners expect — and addressing it at this stage is far less expensive than discovering it after a new roof is already in place.
Step 6 — Underlayment Installation
With a clean, sound deck in place, the secondary water barrier goes down before any shingles are installed. Ice and water shield is applied first along the eaves, in roof valleys, and around all penetrations — the areas most vulnerable to water backup and wind-driven rain. Synthetic underlayment is then installed across the entire remaining deck surface, overlapped correctly to ensure no gaps exist. Drip edge metal is installed along the eaves before underlayment and along the rakes after, directing water cleanly away from the fascia and into the gutters. This layer is what stands between your home’s interior and water intrusion if any shingles are ever compromised — making its correct installation as important as the shingles themselves.
Step 7 — Flashing Installation
All roof penetrations and transitions are flashed before shingles go on. Flashing is the metal system that seals every joint where the roof meets another surface, and it is the most leak-prone area on any roof when done incorrectly. Step flashing is installed along chimney sides and wall intersections, woven in with each shingle course as installation progresses. Valley flashing is laid in open valleys to channel water from intersecting roof planes safely to the gutters. Pipe boot flashing is installed around all plumbing vents and HVAC penetrations, and chimney base and counter flashing seals the front and sides of chimney bases against the roof surface. In West Texas, where high winds drive rain into every joint and UV exposure degrades sealants faster than in milder climates, properly installed flashing is what separates a roof that performs for 25 years from one that leaks within five.
Step 8 — Shingle Installation
With underlayment and flashing in place, shingle installation begins at the eaves and works upward toward the ridge. Starter strips are installed first along eaves and rake edges to seal the roof’s perimeter against wind uplift — one of the most critical and most frequently skipped steps on budget installations. Field shingles are installed in overlapping courses, nailed according to manufacturer specifications, where correct nail placement and depth are essential for wind resistance and warranty compliance. Hip and ridge caps are installed last, sealing the roof’s highest and most exposed lines with a double layer of protection. Every shingle is aligned, spaced, and fastened to manufacturer specs. Deviations from the nailing pattern or exposure requirements can void the shingle warranty and reduce wind resistance — issues that won’t be visible from the ground but will show up during the first major West Texas storm.
Step 9 — Final Cleanup and Inspection
Once all shingles, flashing, and ridge caps are in place, the crew performs a thorough cleanup of the entire property. All old shingles and debris are removed from the job site. A magnetic roller sweeps the driveway, lawn, and surrounding areas for nails. Gutters are cleared of any granules or debris from the installation, and tarps are removed while landscaping is checked for damage. The contractor then performs a final walkthrough with the homeowner, reviewing the completed work and addressing any questions before signing off on the project.
Step 10 — Final Permit Inspection
For permitted projects in Lubbock, TX, a city inspector visits the property to verify that the installation meets local building code requirements. A reputable contractor coordinates this inspection and accompanies the inspector if needed. Passing the final inspection closes out the permit and gives you documented confirmation that your new roof was installed to code — important for insurance purposes and for future home sales.
Get Your Roof Installed the Right Way in Lubbock, TX
Every step in this process exists for a reason — and skipping or rushing any one of them creates a vulnerability that West Texas weather will eventually find. At Gallegos Roofing LLC, we follow this process on every installation, from the first inspection to the final permit sign-off, because it’s what produces a roof that actually performs for the full length of its warranty.
With over 30 years of experience serving Lubbock, TX and the surrounding 40-mile area, full licensing and insurance, and bilingual service in English and Spanish, we’re the local team equipped to do the job right the first time.

Have Any Question?
We are ready to offer you Shingles Roofing, installation and roof repair services with our experience of more than 30 years.
Do you want a customized roofing? Contact with us
Need reliable roofing services? Call us now at (806) 781-8384 and protect your home with Gallegos Roofing LLC! Our expert team is ready to provide you with exceptional roofing solutions – don’t wait any longer, secure your peace of mind today!